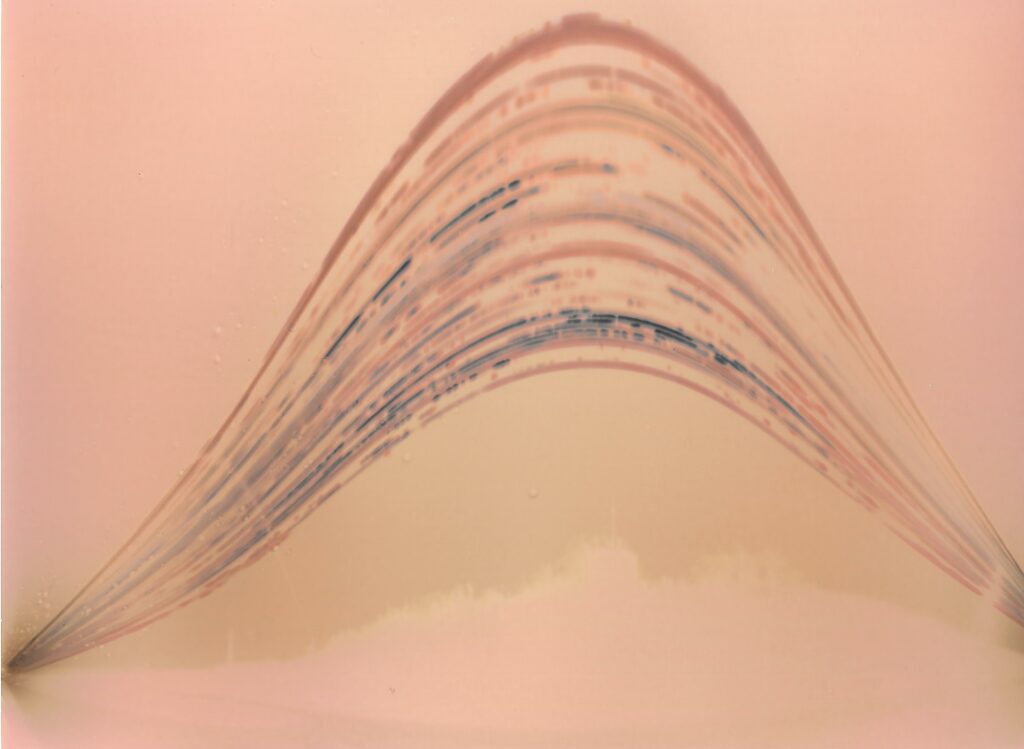
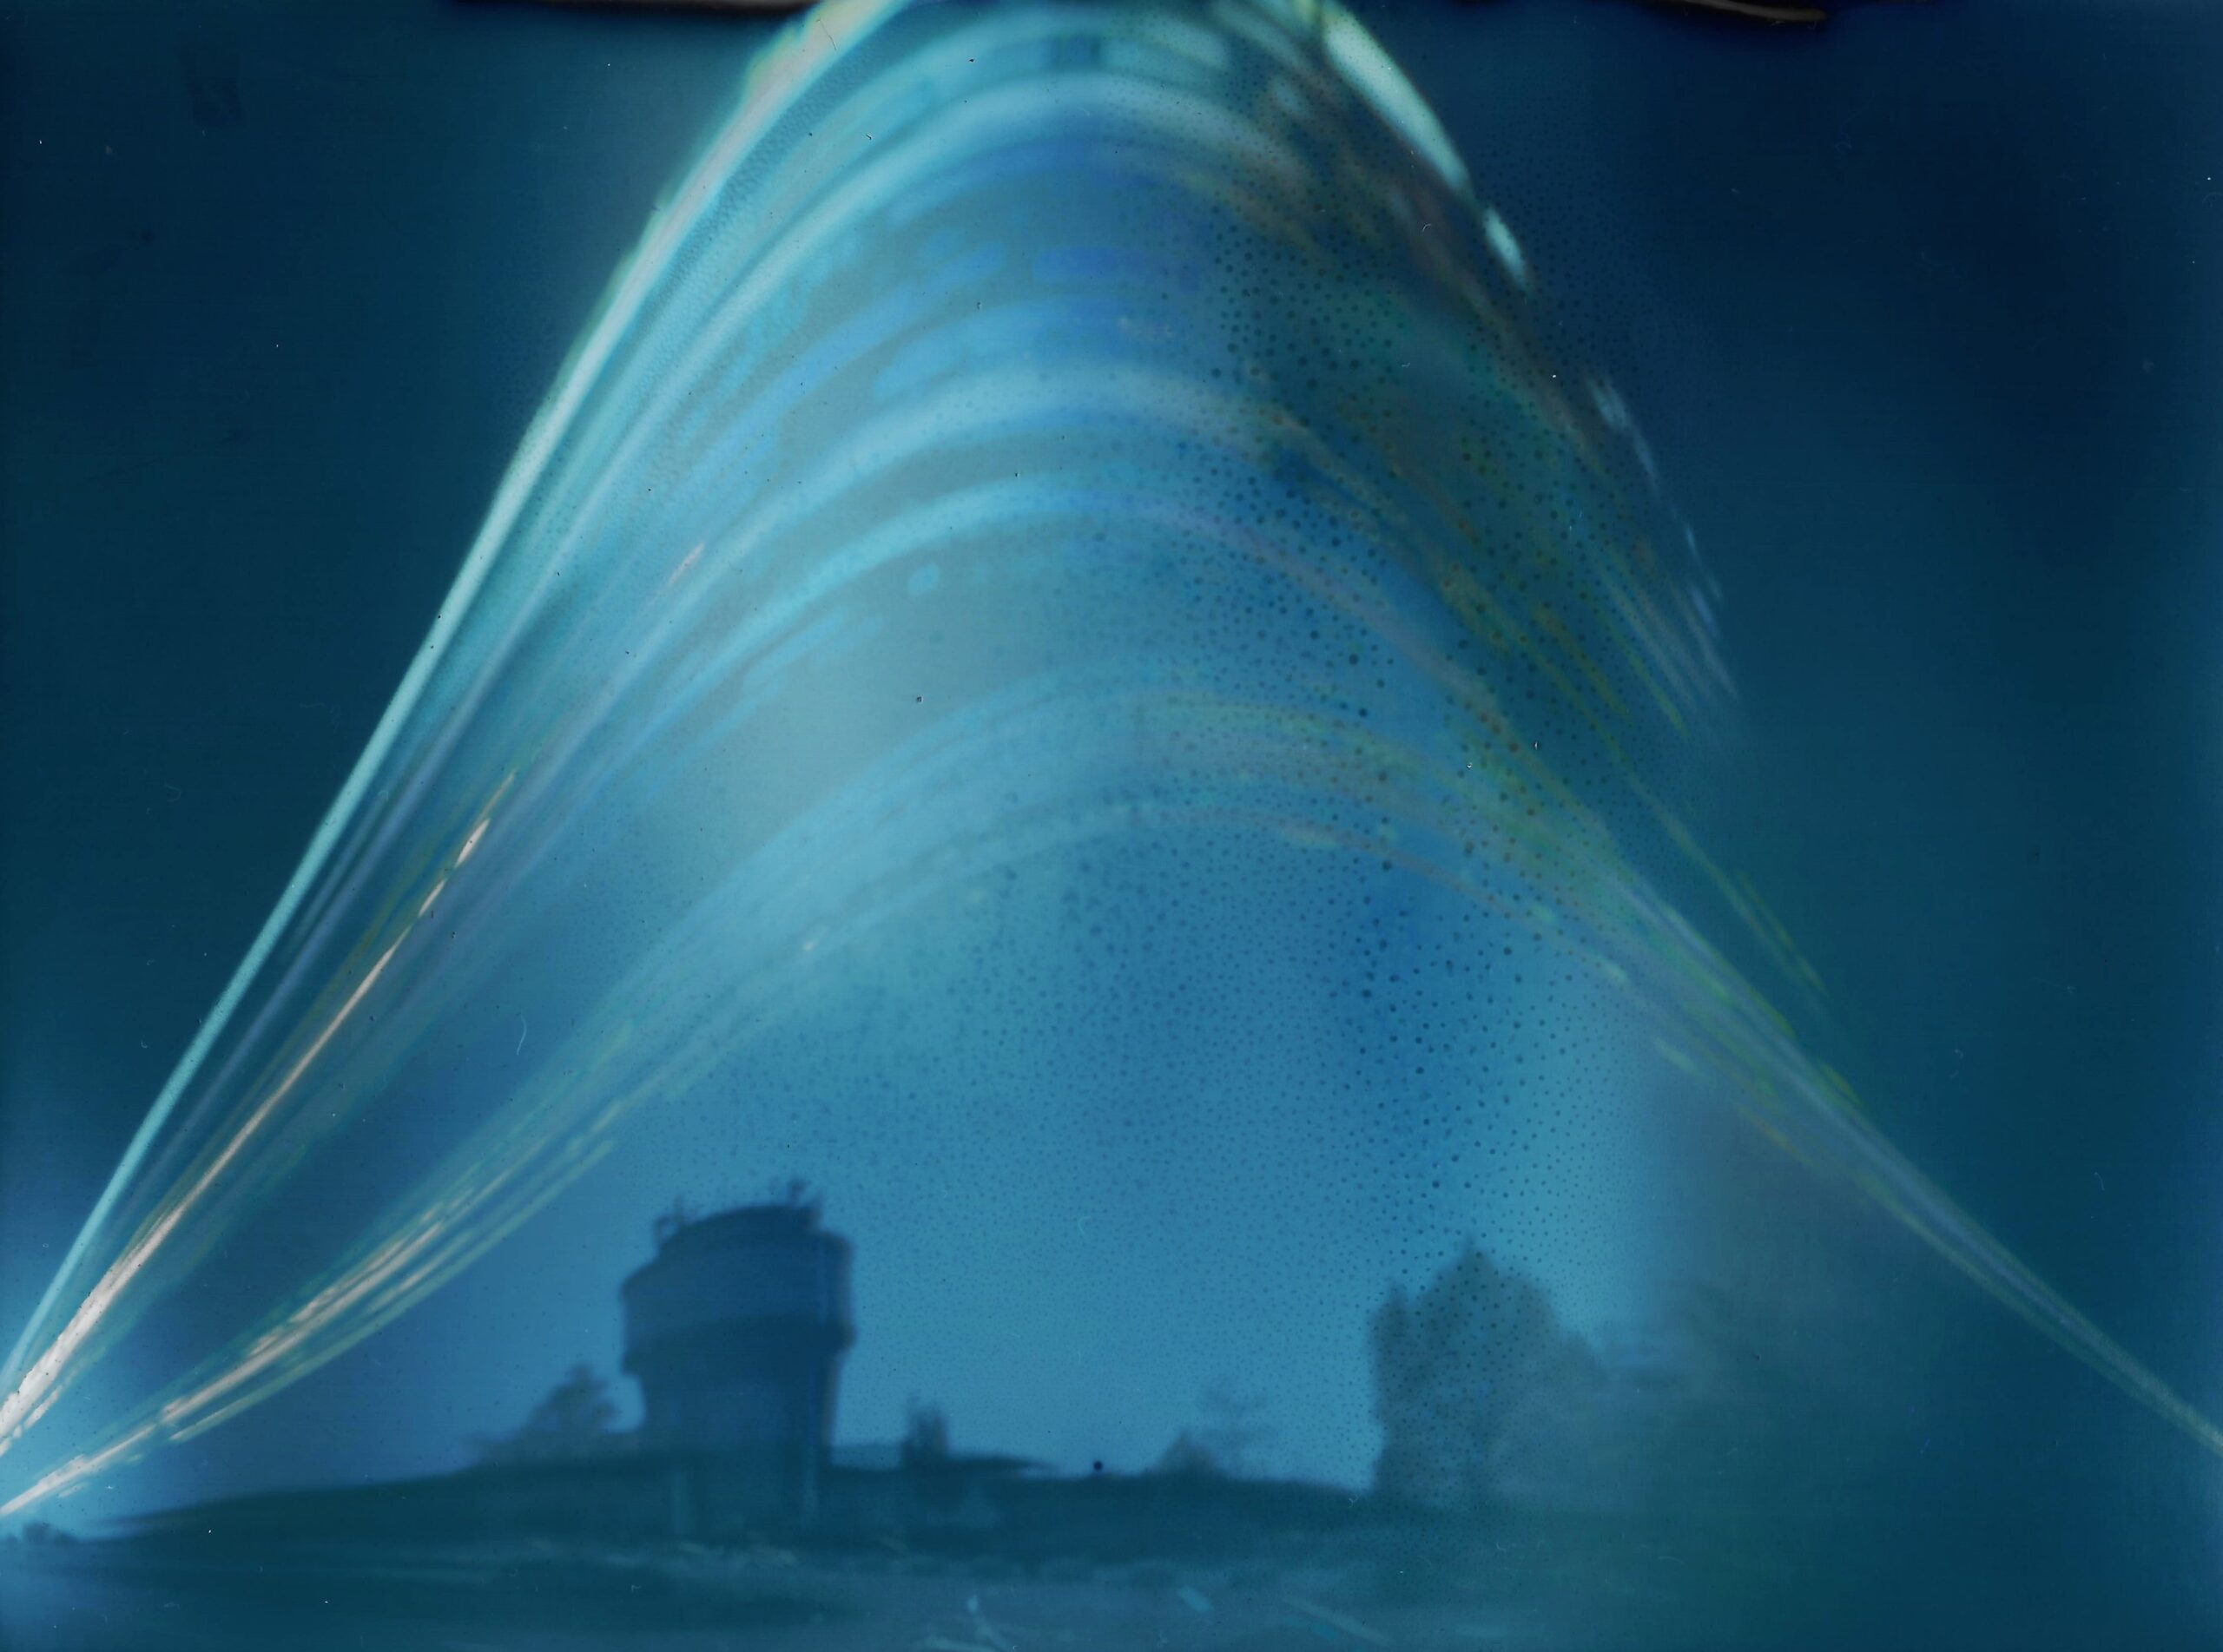
Solarigraph or solargraph is a photographic concept to capture the path of the sun across the sky using an homemade pinhole camera and photographic paper without chemical processing.
Here’s the material you need to create your own solargraph :
- 2 big cans (I’m using 500 mL / 16.9 oz cans)
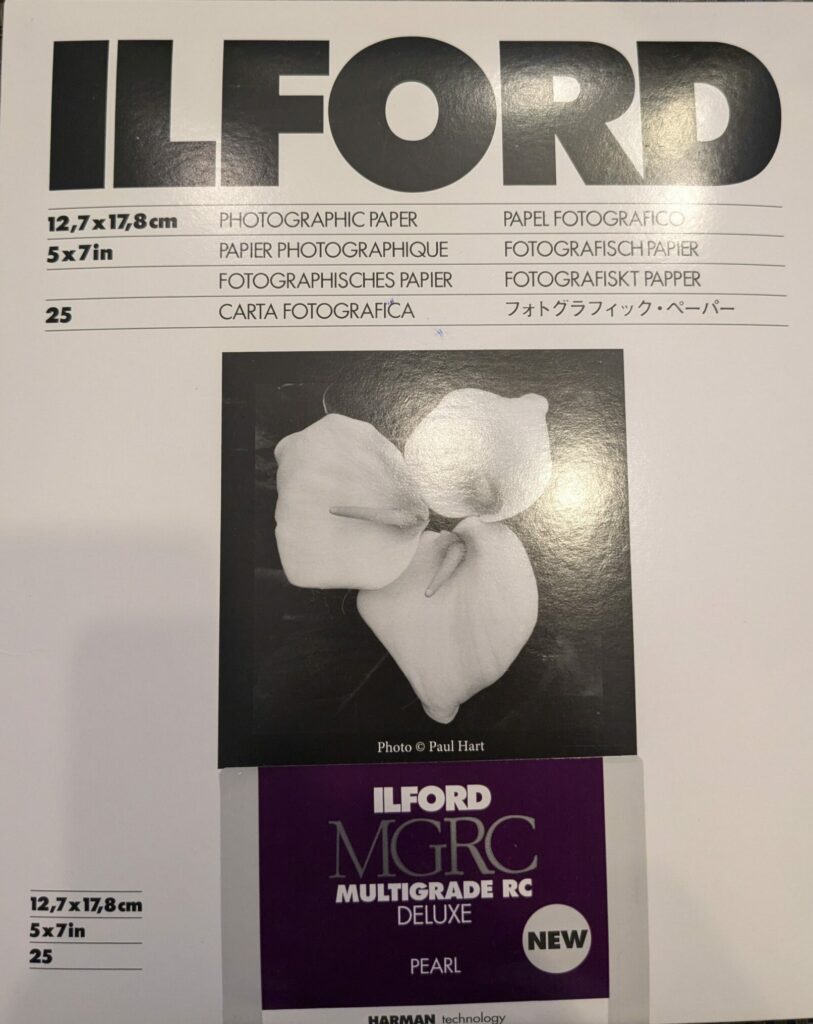
- Photographic paper, with a smaller length than the circumference of the can. The paper I use is the Ilford Multigrade RC (MGRC)
- A needle
- Outdoor tape
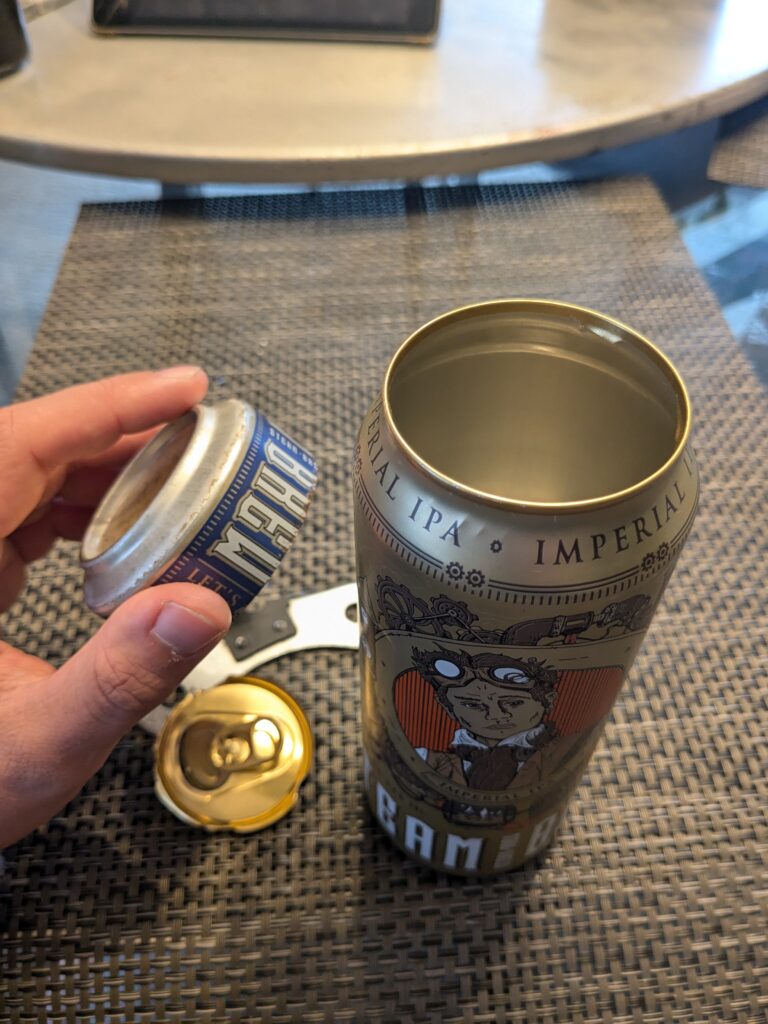
In order to create your own solargraph, you will need 2 cans. I use standard 500 mL cans (16.9 oz). Remove the liquid and rinse the cans. You will then need to gently remove the lid of the first can using a lid opener and cut the bottom of the other can. The last one will be used as a lid on top of the first can to avoid water, dust and moisture to come inside the pinhole.
After cleaning and drying the cans, you will need to do a small hole using a needle. I advise you to do the hole in the upper side of the can to have most of the sun’s trajectory of the sun. Using the flashlight of your phone in front of the hole, you can be sure that the light is correctly entering the can.
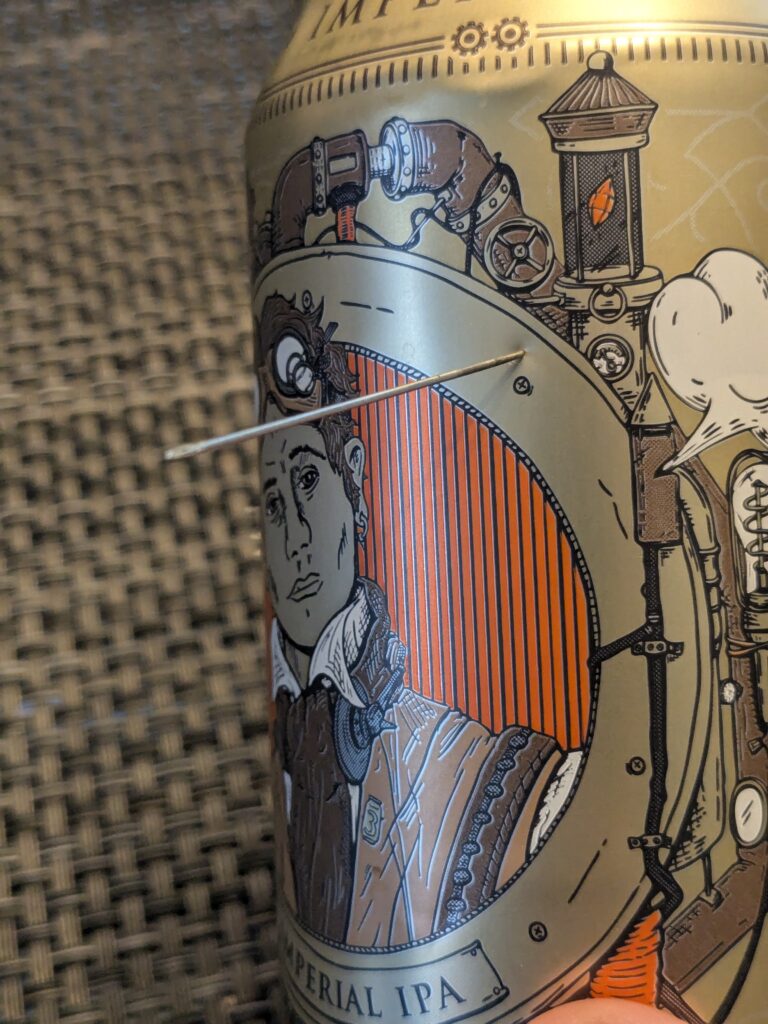
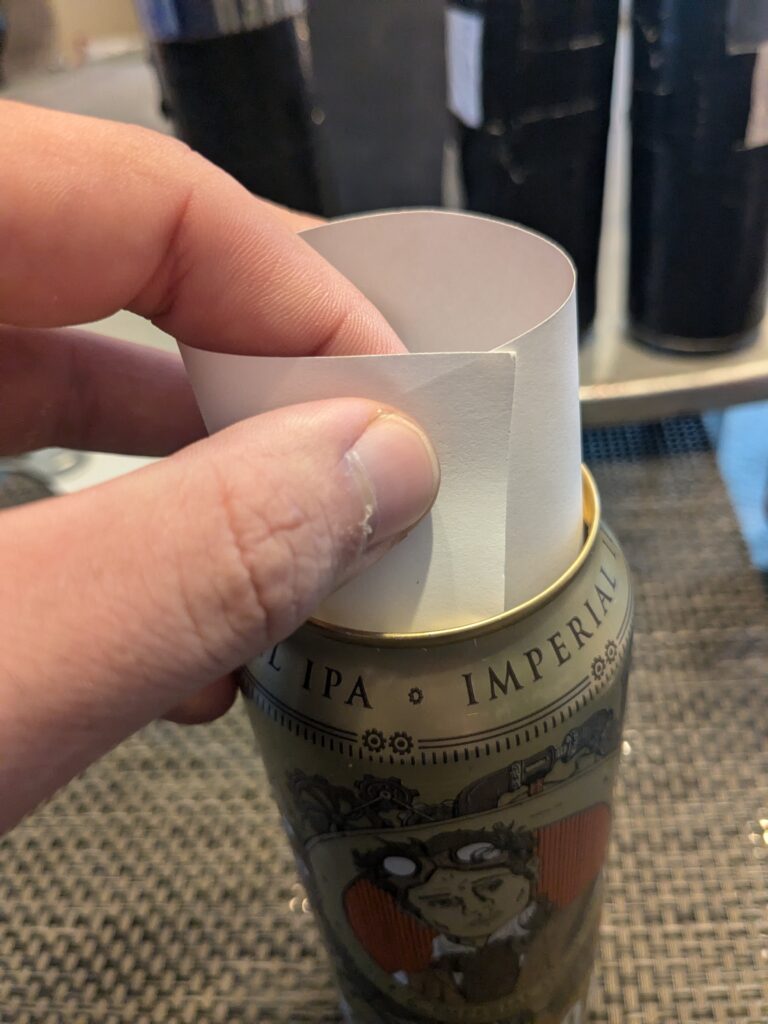
After that, you will have to insert the photographic paper inside of the pinhole. The photographic paper is a special paper used to develop photos. It is made of a light-sensitive chemical named an emulsion which is most of the time a gelatin silver. This paper has 2 sides, a glossy side and a more classic paper side, the emulsion is the glossy side. You don’t have to be in a pitch black room to do this but try to avoid the paper to be too much exposed to light.
Be careful, after removing the lid, some sharp pieces of aluminum could remain which could cause bad scratches to your photographic paper during insertion and removal. To counter this, I put tape around the can neck and it works just fine !
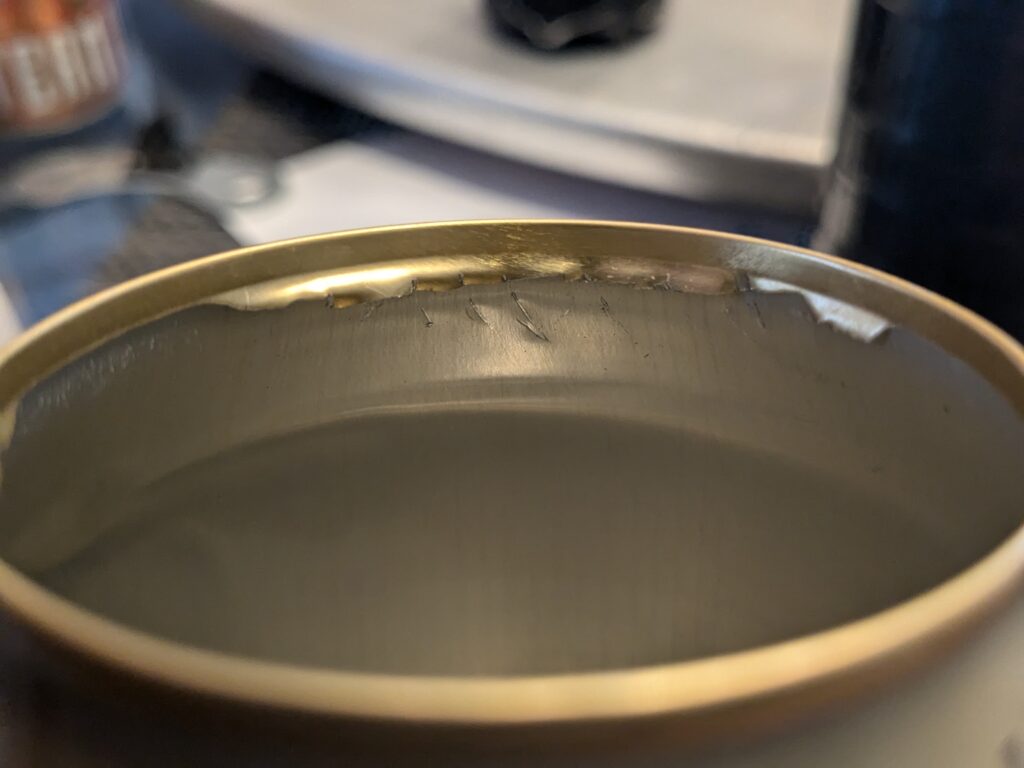
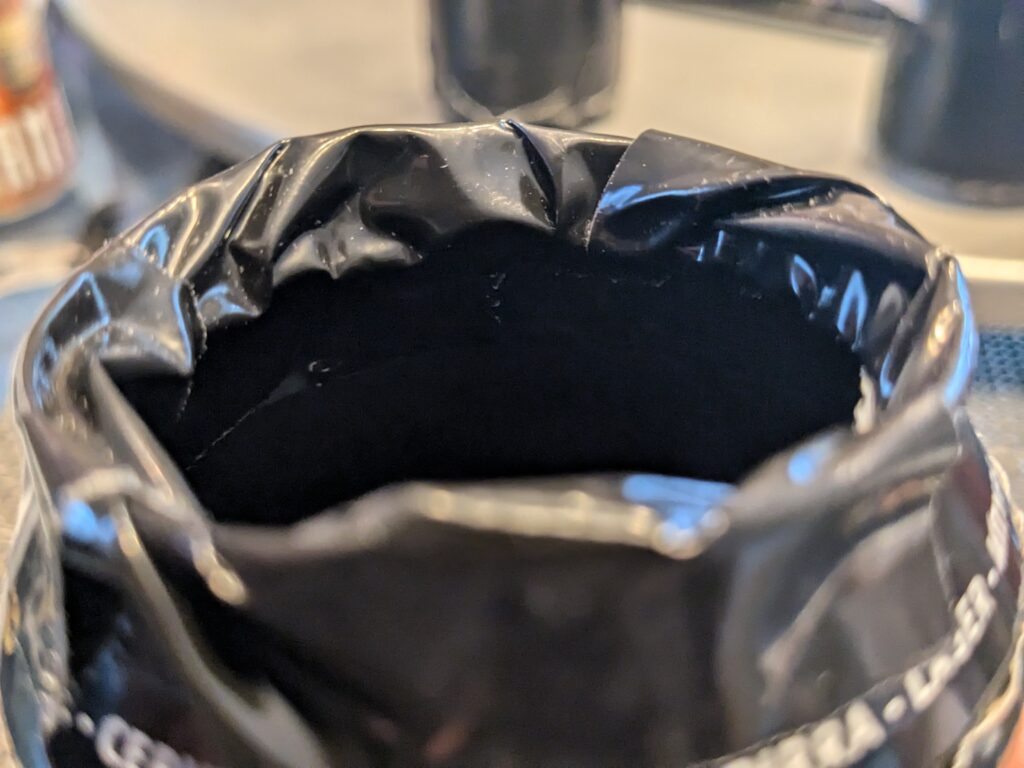
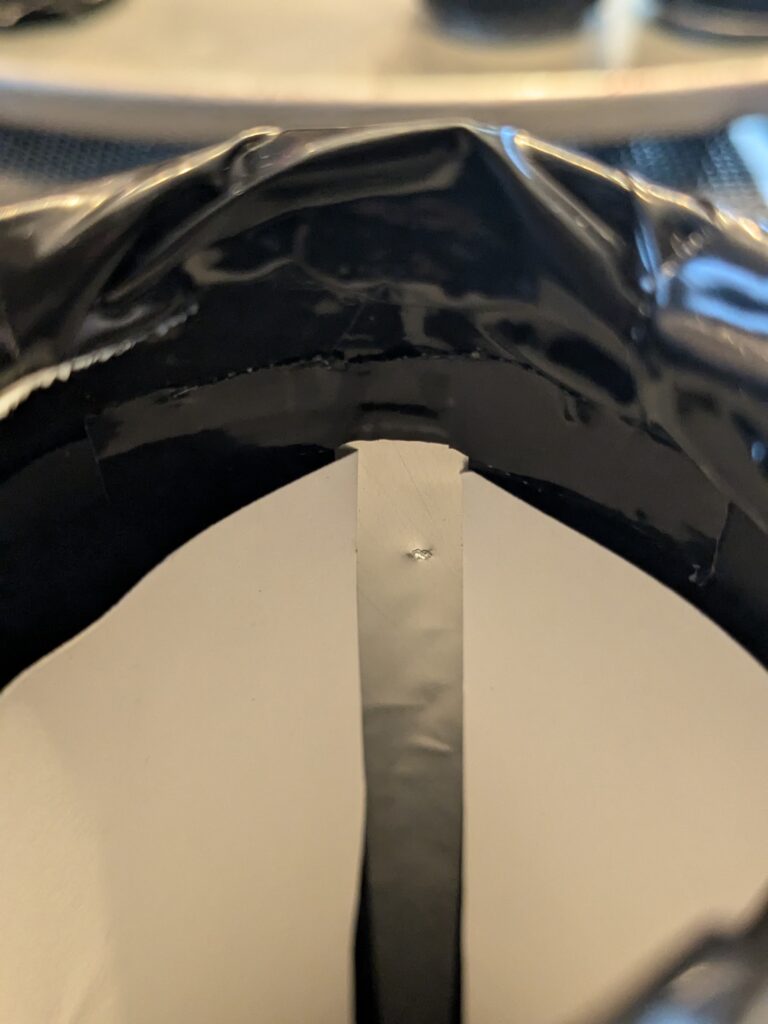
You have to be careful and putting the glossy side in the inside of the can, not the other way around. The paper is small enough to not cover the entirety of the can, leaving a free band, where the hole should be. You can see on the picture the hole in the free band.
For outdoor discretion, I fully tape the can except for the hole. Then, put the lid and tape it to the pinhole. Add a little piece of tape on top of the hole to prevent the light to enter the pinhole before the final installation, you will remove it when it is installed.
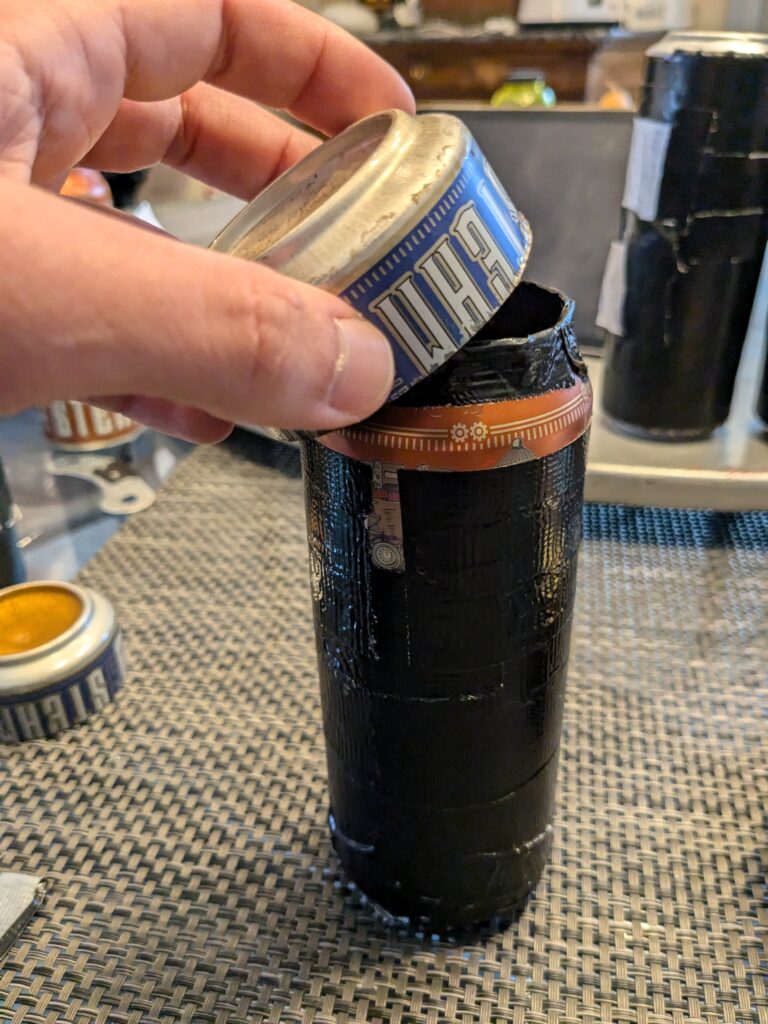
Your pinhole is ready. Put it outdoor, facing the direction of the sun. In the northern hemisphere, the sun is facing south so I put the hole directing the south. To help me, I draw a line on the lid from the hole to the other side, making a north-west mark.
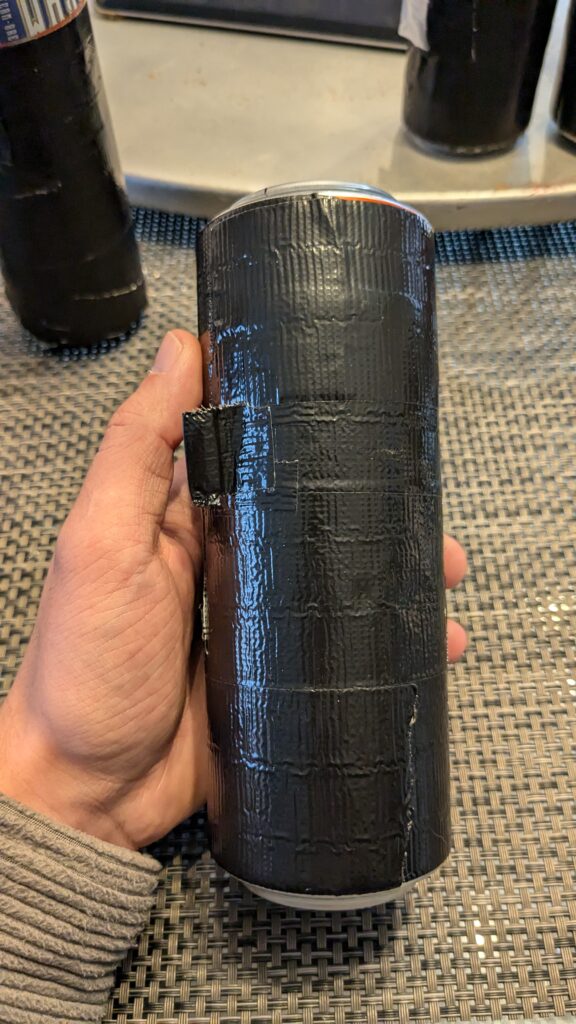
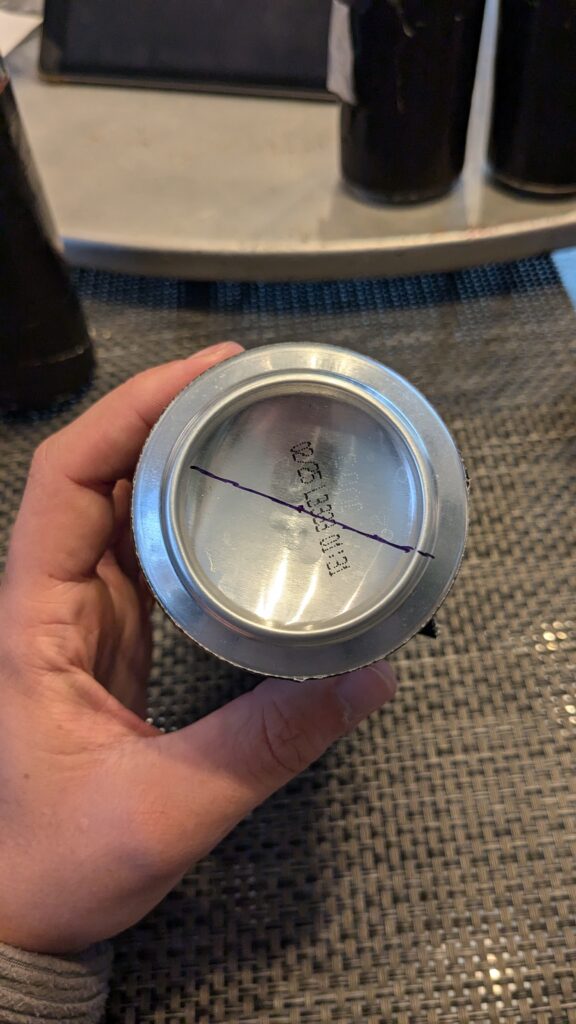
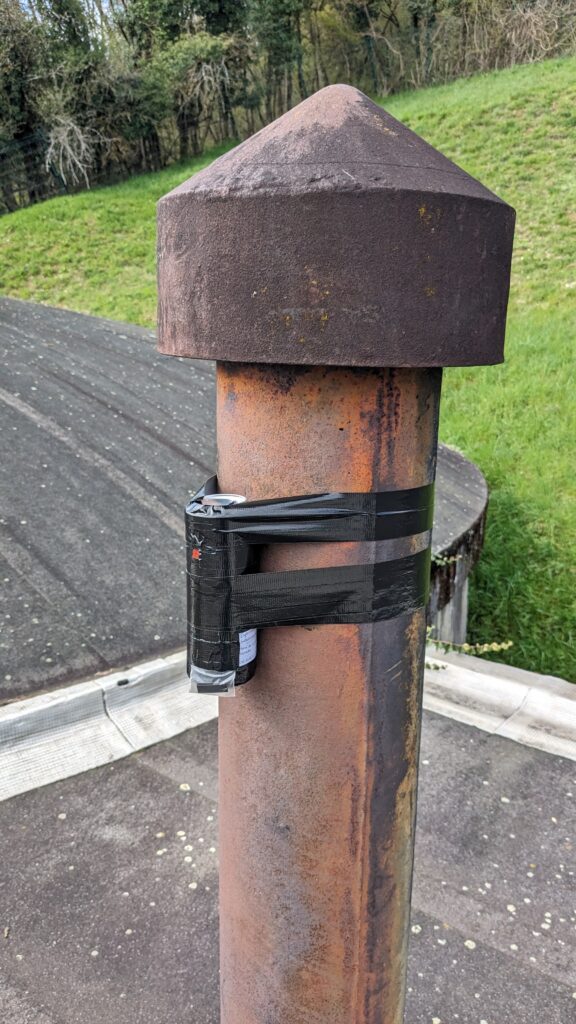
Tape it to a pole and wait for one day, 6 months or several years.
You will get a brown and white picture of the path of the sun during the time of the exposition. If you want a classic blue solargraph, just scan the paper and invert the RGB values using a photo editor.
